What should you know about not every scratch needs grinding?
Fine surface wear may respond to honing or polishing, especially when the floor is level and the scratches are limited. A scratch that catches a fingernail, repeats across many tiles, or accompanies lippage needs a more comprehensive assessment.
Household polish products rarely remove deep damage. They can leave residue or create uneven shine that makes the floor harder to evaluate.
What should you know about restore the whole finish?
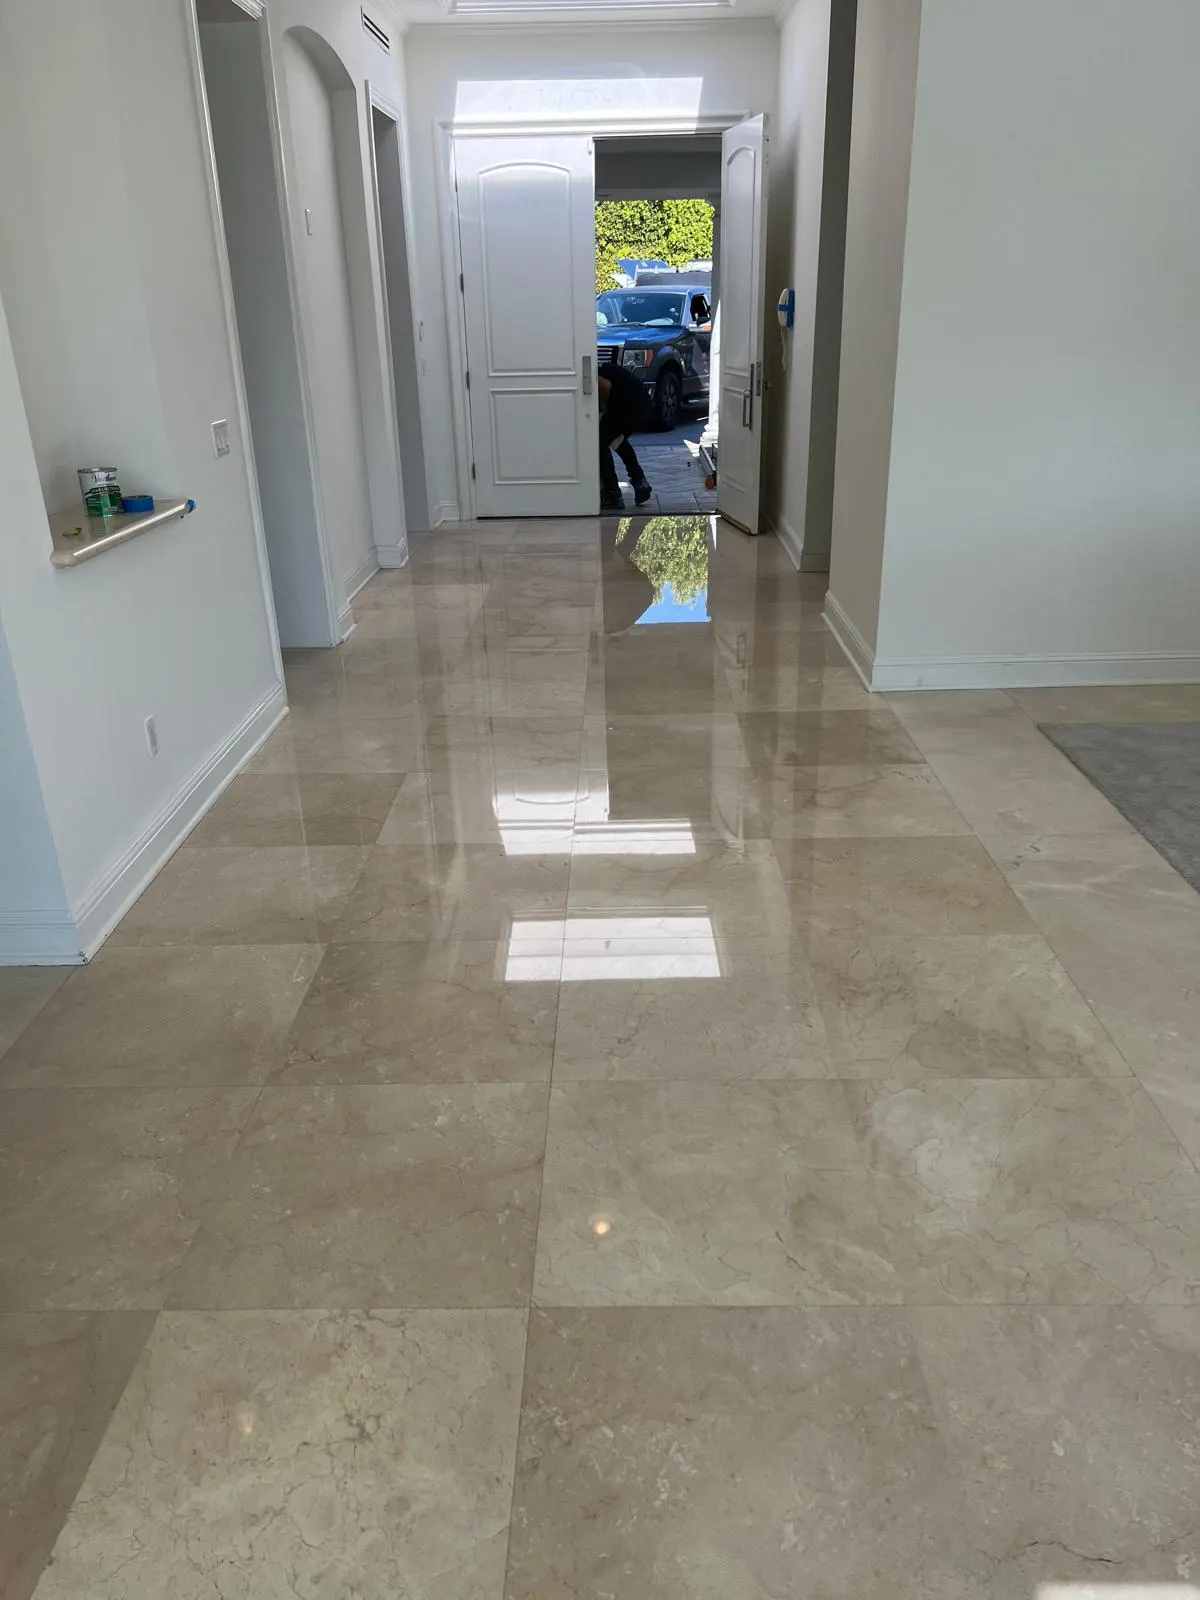
When grinding is needed, the floor is corrected through a controlled series of wet diamond steps. The final finish is then rebuilt so the repaired area blends with adjacent rooms and transitions.
Use felt pads, clean walk-off mats, and stone-safe cleaning after the work. Grit is one of the most common causes of repeat scratching in entryways.
How do you distinguish scratches from streaks and etching?
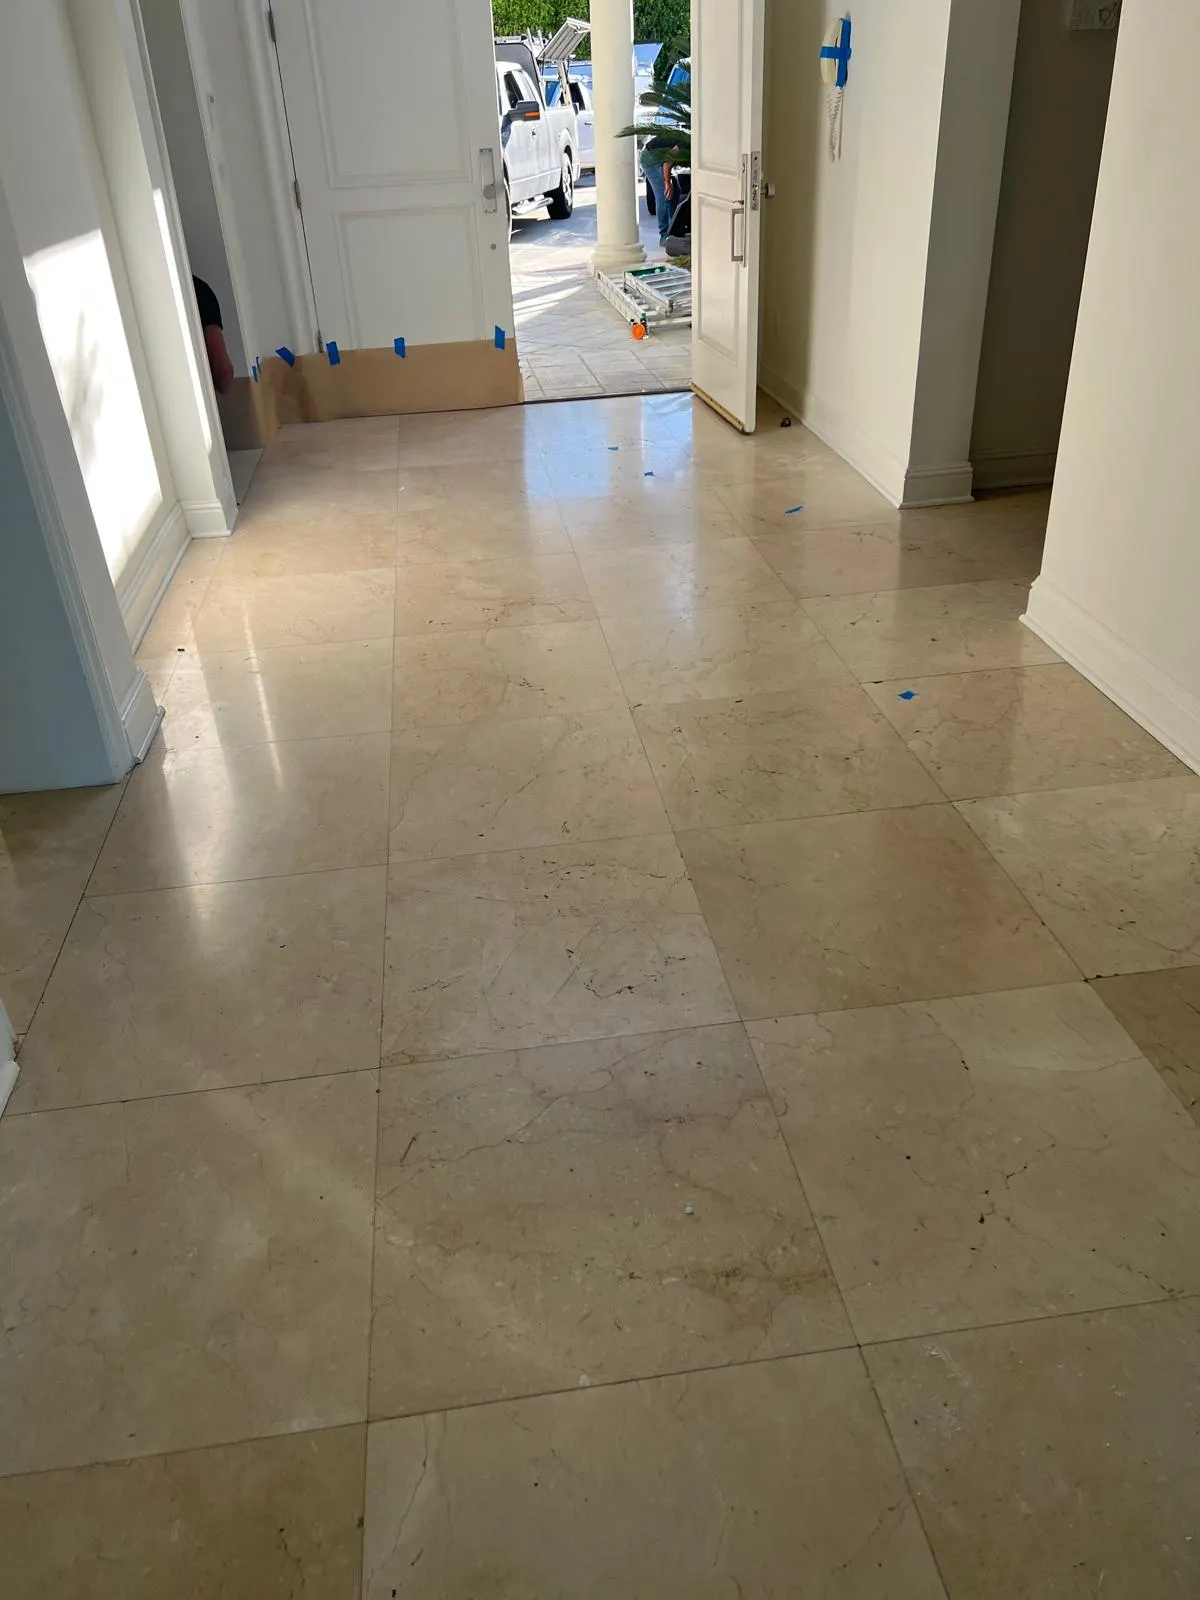
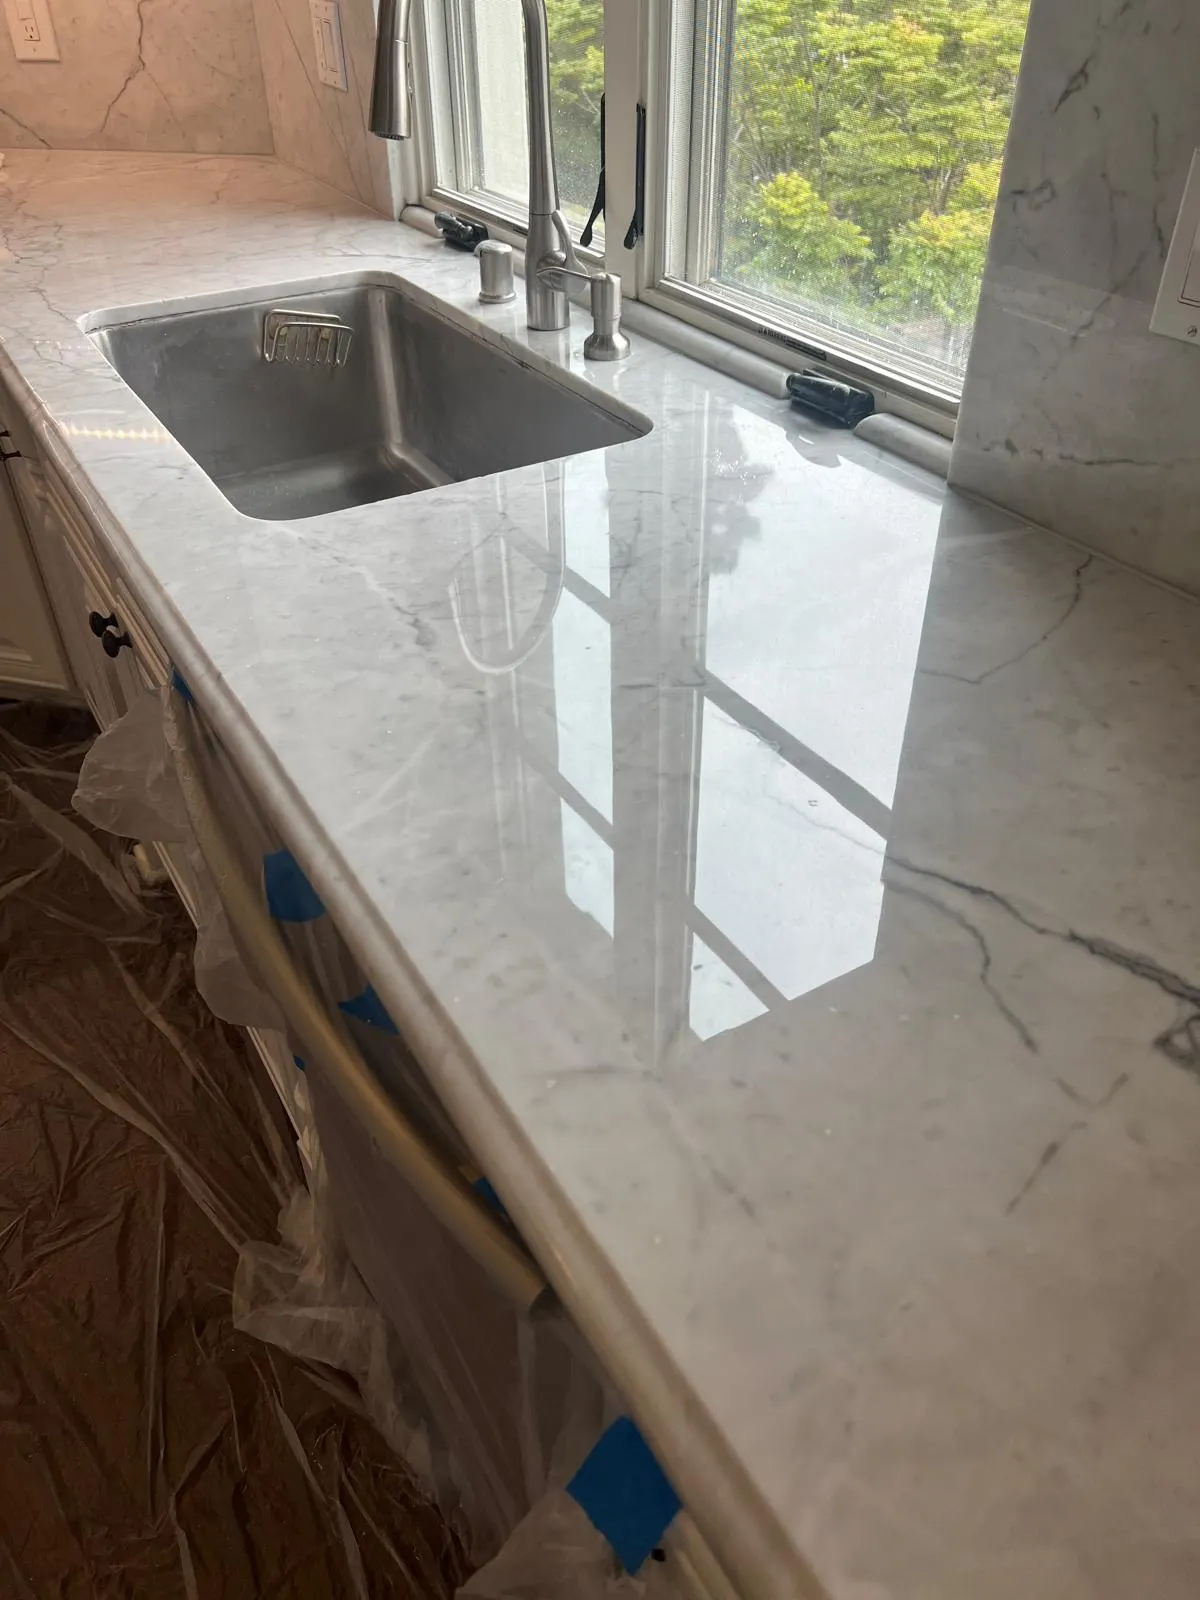
Look at a clean, dry section from a low angle where a window or lamp reflects across it. A scratch commonly follows a line or repeated travel path, while an etch may appear as a splash or irregular dull area. Cleaner streaks can sit on top of an otherwise sound finish. These are clues, not a diagnosis based on shape alone. Use only a compatible neutral cleaner for an initial check, and do not rub with an abrasive pad to see whether a mark disappears. That experiment can create fresh scratches and obscure the original problem.
What should you record before requesting scratch repair?
Photograph the wider room as well as the most visible groove. Describe whether the marks appeared after furniture moved, building work or a change in cleaning equipment. Include thresholds, borders and areas beneath rugs so the assessor can compare different wear patterns. Mention any wax, polish or repair compound used previously, even if the product seemed unrelated. Note where you feel movement or see a chipped edge, but avoid probing a crack. This record helps distinguish an isolated accident from ongoing abrasion and allows a more useful discussion than a close photograph with no scale or context.
When does a localized repair make sense?
A limited mark on a stable floor may be a candidate for localized refinement, but the surrounding finish determines how discreet the result can be. Freshly polished stone beside a worn traffic lane can look different even if the groove is reduced successfully. Ask where the treatment would stop and how that boundary would be evaluated. A natural vein, doorway or room transition may help define a practical scope, although none guarantees an invisible blend. If multiple scattered scratches are present, a broader honing plan may produce a more coherent finish than many separate spot treatments.
What makes deep scratch removal a different decision?
A deep groove is missing stone, not dirt that can be dissolved. Reaching its lowest point means removing surrounding material, so depth must be considered alongside tile thickness, edges, existing repairs and the installation's condition. Grinding may be appropriate for some floors, while others call for a different repair discussion or accepting a residual mark. A fingernail catch can be useful information but is not a specification for a particular abrasive process. Where cracks, loose tiles or movement accompany scratching, investigate those concerns before treating surface correction as the complete solution.
How should you judge the proposed finished appearance?
Review a representative sample in ordinary room lighting and reflected light, after the surface is clean and dry. Compare sheen across adjacent tiles, not just the disappearance of one scratch beneath a work lamp. Natural differences in color and veining remain after restoration; they should not be confused with inconsistent workmanship. Discuss exposed edges and transitions to untouched rooms before approving the scope. The written plan should explain whether the aim is scratch reduction, a different sheen or wider floor refinement, along with any limitations that a sample cannot settle in advance.
What reduces repeat damage after the repair?
Follow the Natural Stone Institute's emphasis on grit control: keep entry mats clean and remove loose dirt with appropriate soft tools. Inspect vacuum wheels and attachments for worn edges, and replace damaged furniture pads before moving furniture back. Lift rather than drag heavy items where it can be done safely. Check that cleaning tools are not carrying abrasive debris from outdoor work. A maintenance routine should respond to actual traffic, not a promise that restoration makes marble scratch-proof. If new lines appear, identify their source before arranging another cosmetic treatment over the same recurring cause.
Quick checklist
- Map scratches in reflected light without scraping or acid testing the marble.
- Identify loose pieces, raised edges and previous repairs separately.
- Agree on a sample, repair boundary and realistic finish limitations.
- Check mats, furniture feet and cleaning tools before returning to normal use.
Clear answers
Frequently asked questions
Can a single scratched marble tile be repaired?
A localized repair may be appropriate when the stone is sound and the finish can be blended. The treatment boundary may need to extend beyond the visible scratch to avoid a noticeable patch. Assess the surrounding wear before choosing a spot repair.
Should every scratch be ground completely away?
Not automatically. Removing enough material to reach a deep groove can introduce problems around edges, joints or earlier repairs. Discuss whether reducing visibility is more appropriate than complete removal, and record any defects expected to remain.
Will sealing prevent another scratch?
A penetrating sealer addresses absorption rather than abrasion. It does not provide a hard protective layer against furniture or grit. Scratch prevention depends on removing abrasive dirt, maintaining furniture pads and using suitable cleaning equipment.
Sources
Not sure which service your stone needs?
Elite Marble Care can assess the surface in person, explain the restoration sequence, and provide a free on-site estimate across Greater Los Angeles.